Sharing Tasks via Email
PlanItNine makes it easy to share your daily plan with managers, team members, or accountability partners. Recipients don't need a PlanItNine account - they just receive a clean email summary.
Why Share Your Tasks?
Manager Updates
Keep your manager informed about what you're working on without scheduling status meetings.
Team Coordination
Let team members know your priorities so they can plan around your availability.
Accountability Partner
Share your plan with a friend or colleague who helps keep you on track.
Personal Reminder
Email your plan to yourself as a reminder in your inbox.
Sharing Today's Tasks
To share your current day's plan:
- Click the email icon (📩) in the Daily Board header
- Choose a sharing option from the dropdown
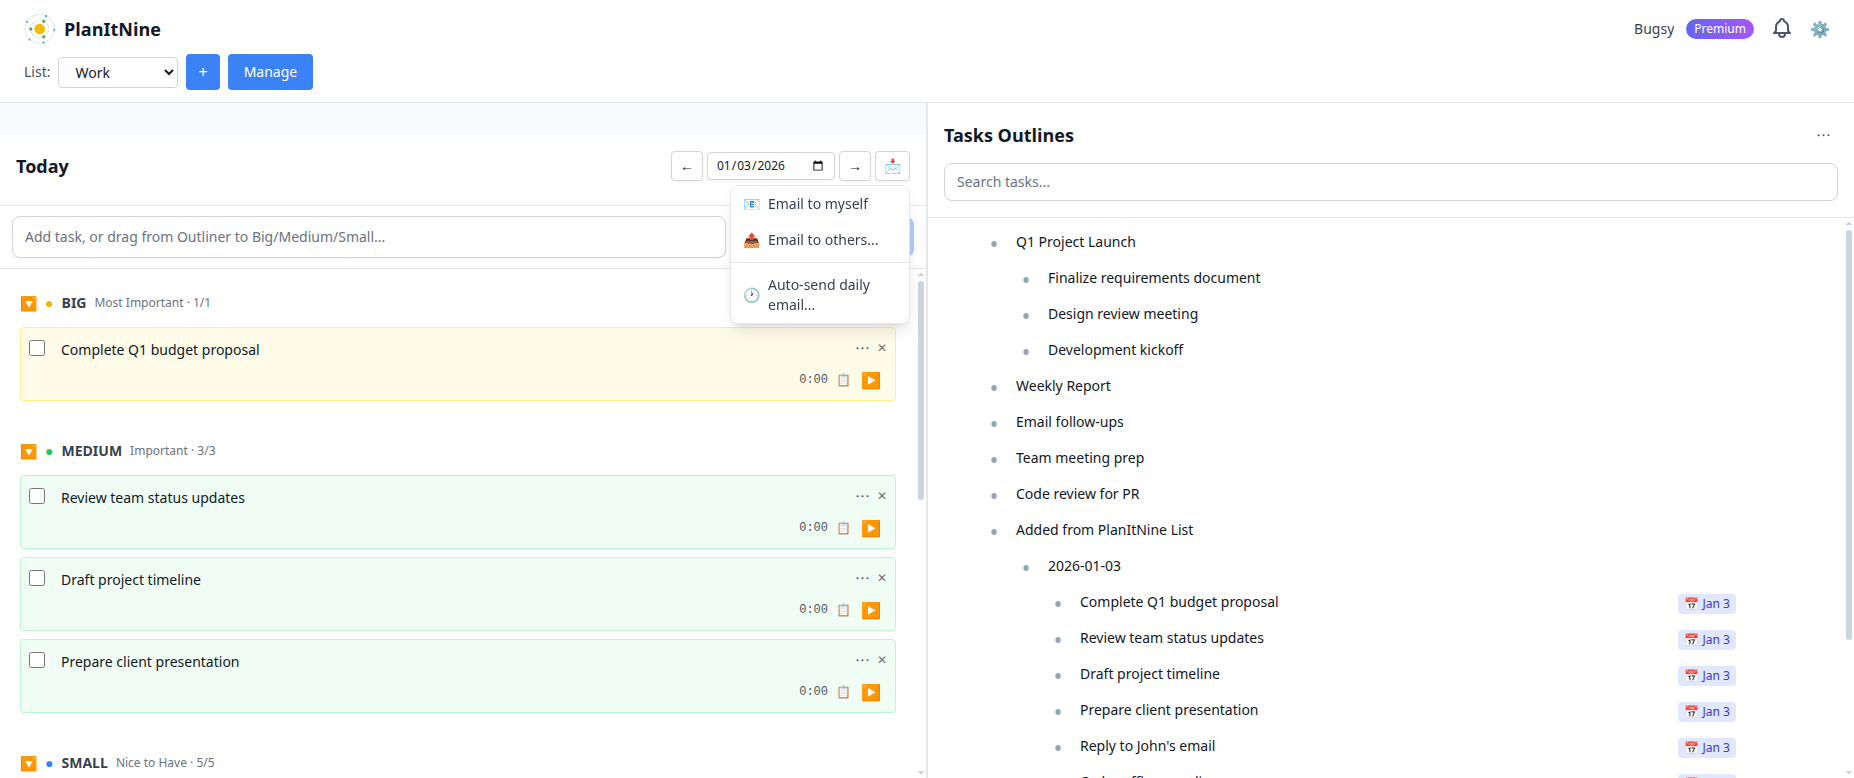
Quick access to email sharing options.
Email Options
- Email to myself: Send a copy to your own email address
- Email to others: Send to any email address(es)
- Auto-send settings: Set up automatic daily emails
Sending to Others
When you choose "Email to others":
- Enter one or more email addresses (comma-separated)
- Add your name (so recipients know who it's from)
- Optionally add a personal message
- Preview the email
- Click Send

The email dialog shows a preview of what recipients will see.
What Recipients See
Recipients get a clean, formatted email containing:
- Your name and the date
- Your Big task (marked clearly)
- Your Medium tasks
- Your Small tasks
- Your personal message (if any)
No Account Required
Recipients don't need to sign up for PlanItNine. They simply receive a standard email they can read in any email client. There are no tracking links or login requirements.
Auto-Send Premium
Premium users can set up automatic daily emails:
- Click the email icon (📩)
- Select "Auto-send settings"
- Enter the recipient email address(es)
- Choose the send time (e.g., 8:00 AM)
- Enable auto-send
Each morning at your chosen time, PlanItNine will automatically email your daily plan to your specified recipients.
Sharing Individual Tasks
You can also share individual tasks from the Outliner:
- Click the task's menu (⋯)
- Select "Email Task"
- The task and its subtasks will be included in the email
This is useful for delegating work or sharing project details with stakeholders.
Assigning Tasks
Need to delegate a task? Use the "Assign to" option:
- Click the task's menu (⋯)
- Select "Assign to..."
- Enter the recipient's email
- Add any instructions
- Send
The recipient receives an email with the task details. This is great for handing off work while keeping a record in your Outliner.
Privacy Considerations
What's Shared
- Task titles
- Task descriptions (if any)
- Your name
- The date
What's NOT Shared
- Time tracking data
- Your notes
- Completed/incomplete status (unless you choose to include it)
- Any account information
Best Practices
Related Guides
Keep Your Team in the Loop
Share your daily plan with one click - no sign-ups required for recipients.
Try PlanItNine Free