Using the Task Outliner
The Task Outliner is your thinking space in PlanItNine. It's where you capture ideas, break down projects, and plan before committing tasks to specific days.
What is the Outliner?
Think of the Outliner as a hierarchical notepad for your tasks. Unlike the Daily Board (which enforces the 1-3-5 limit), the Outliner has no limits. You can:
- Capture every task and idea without worrying about when you'll do them
- Create nested subtasks to break down complex projects
- Reorganize tasks with drag-and-drop or keyboard shortcuts
- Schedule tasks to specific days when you're ready to work on them
Adding Tasks
There are several ways to add tasks to the Outliner:
Quick Add
Type in the "+ Add task" field at the bottom of the Outliner and press Enter.
Add as Child
To add a subtask under an existing task:
- Click on the parent task to focus it
- Press Enter to create a new task
- Press Tab to indent it as a child
From the Menu
Click the three-dot menu on any task and select "Add Task" to create a new task below it.
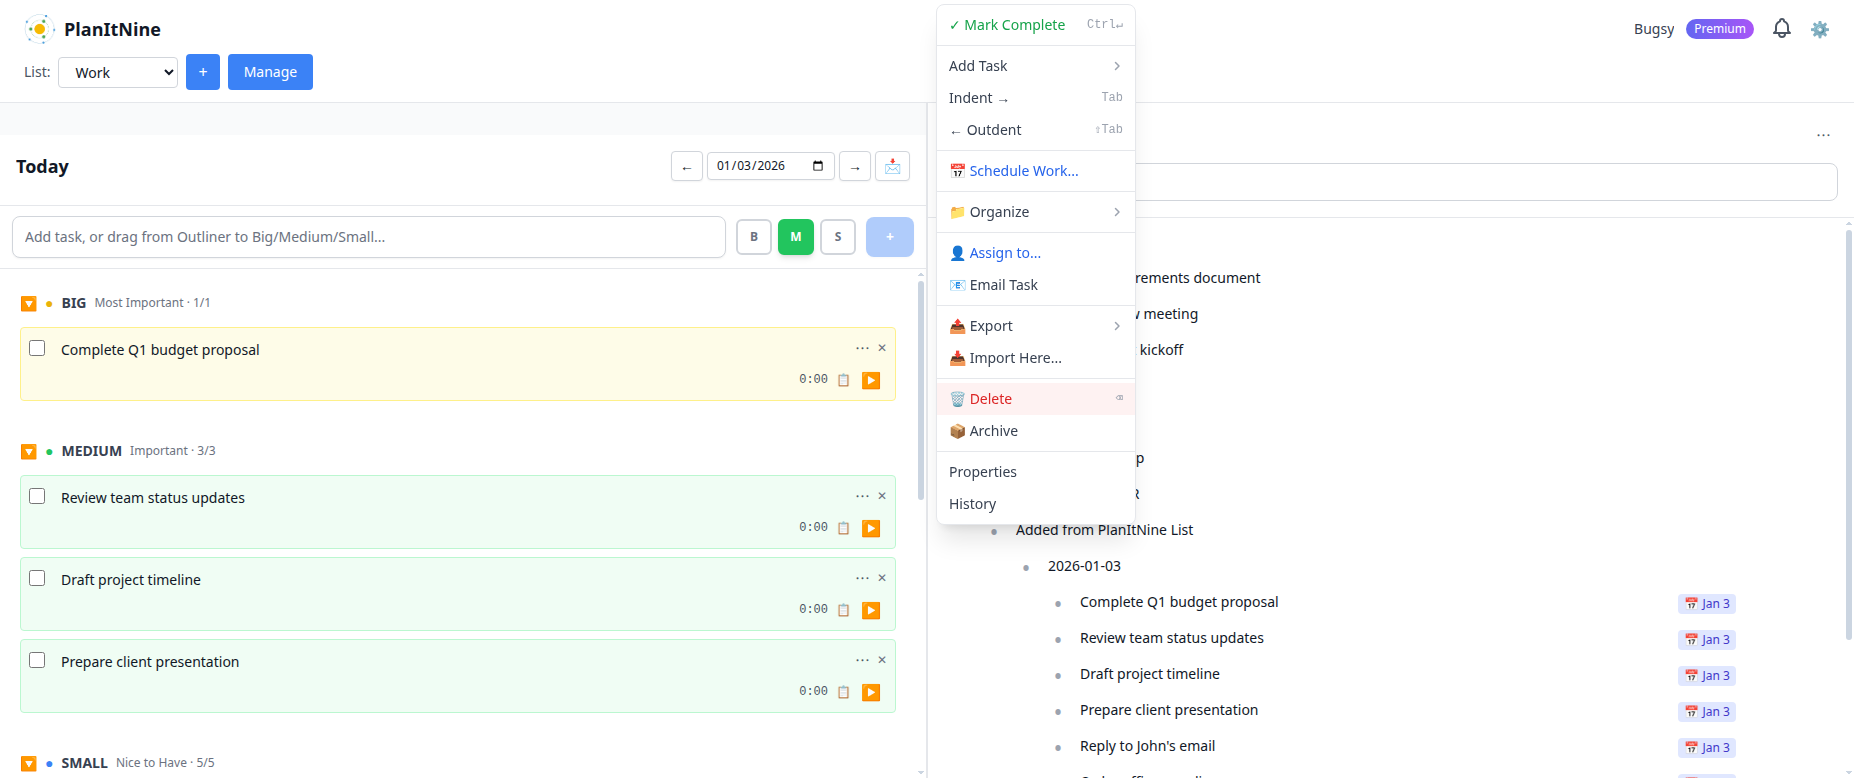
The task menu provides quick access to all task actions.
Organizing with Hierarchy
The Outliner's power comes from its ability to create nested task structures. Here's an example:
Project Example
- Q1 Product Launch
- Finalize requirements document
- Design review meeting
- Development phase
- Backend API
- Frontend UI
- Testing
- Launch checklist
You can expand and collapse parent tasks by clicking the triangle icon, keeping your view focused on what matters.
Keyboard Shortcuts
Power users love the Outliner's keyboard shortcuts:
| Action | Shortcut |
|---|---|
| Add new task below | Enter |
| Indent (make child) | Tab |
| Outdent (move up level) | Shift + Tab |
| Delete empty task | Backspace |
| Mark complete | Ctrl + Enter |
| Move up | Alt + Up |
| Move down | Alt + Down |
Scheduling Tasks to the Daily Board
When you're ready to work on a task, you need to schedule it to a specific day. There are two ways:
Drag and Drop
Simply drag a task from the Outliner and drop it onto the Big, Medium, or Small section of the Daily Board.
Using the Schedule Menu
- Click the three-dot menu on any task
- Select "Schedule Work..."
- Choose when (Today, Tomorrow, or pick a date)
- Choose the size (Big, Medium, or Small)
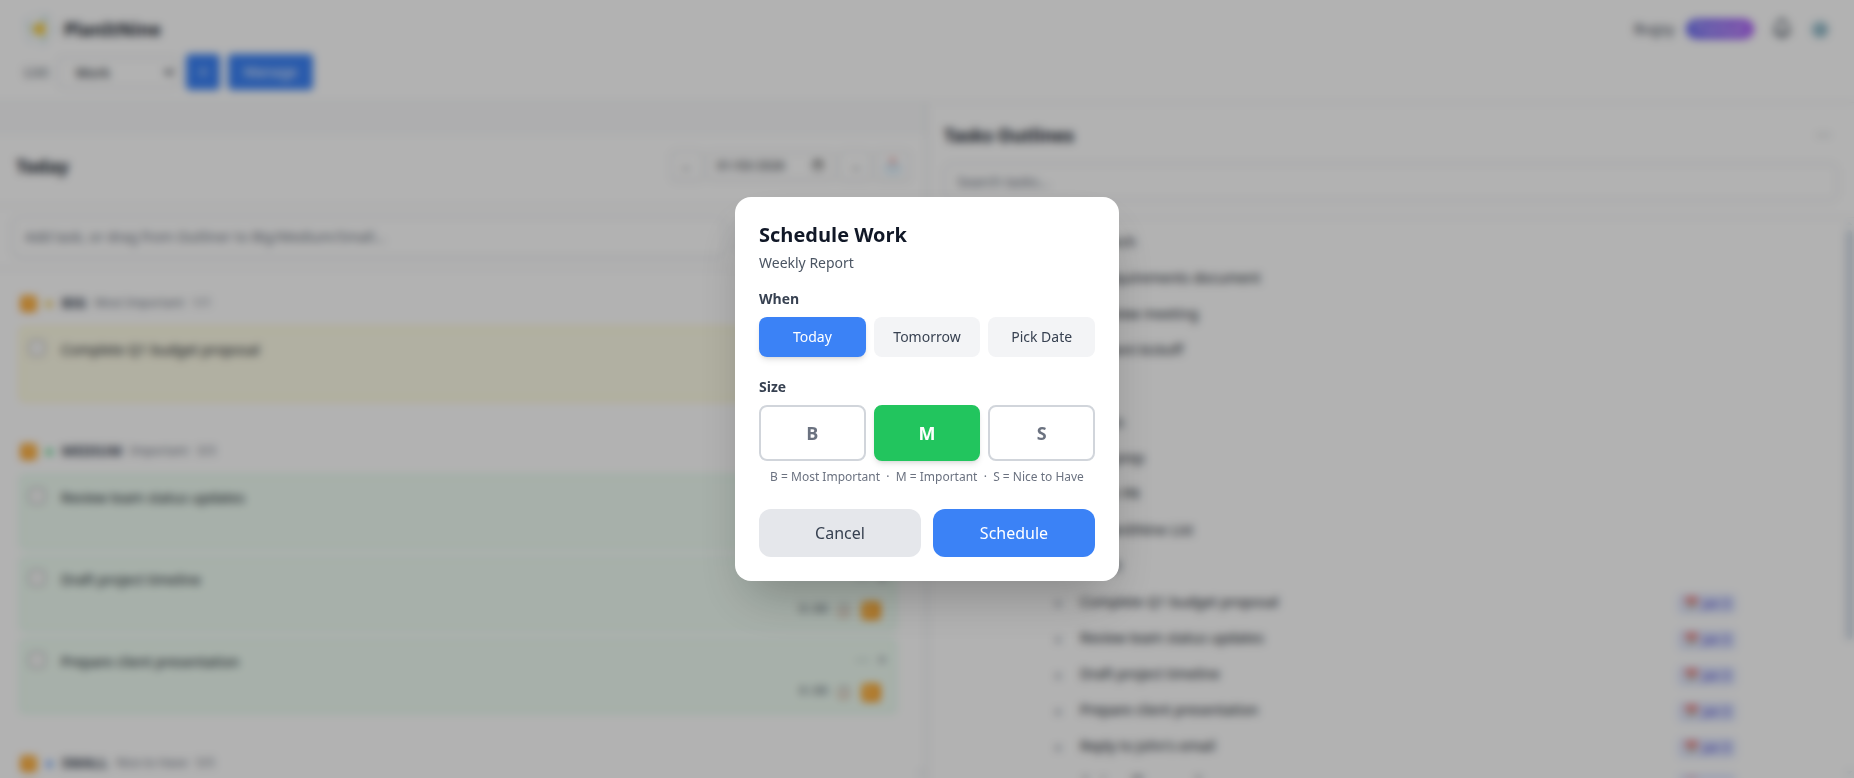
The Schedule Work dialog lets you pick the day and task size.
Scheduled tasks show a calendar icon in the Outliner so you know they're already planned.
The Outliner Menu
Click the three-dot menu in the Outliner header for additional options:
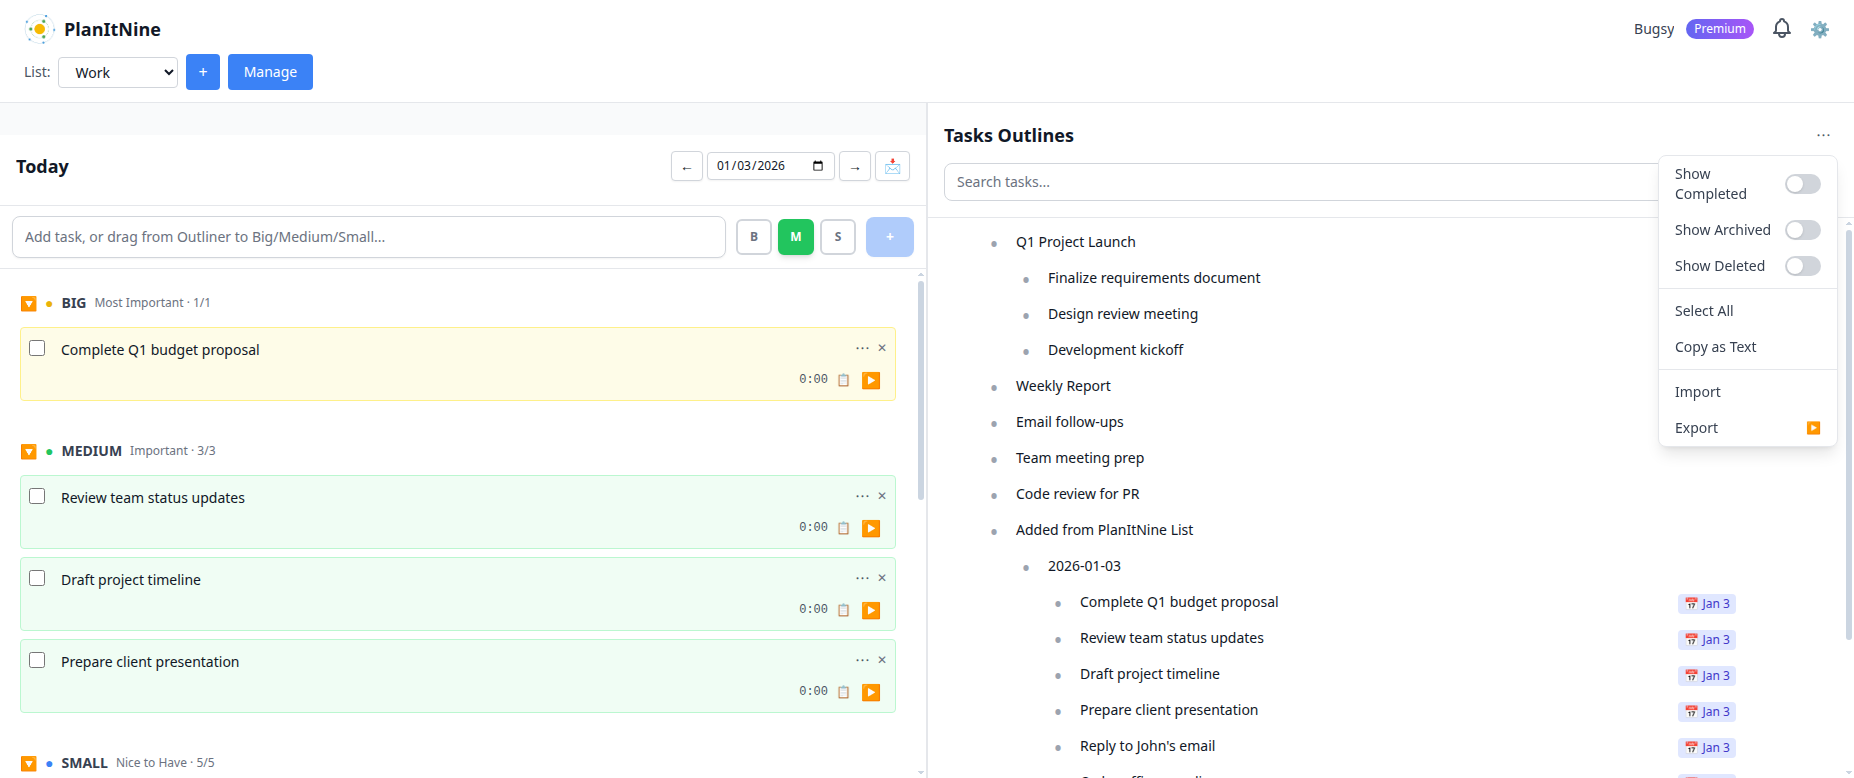
The Outliner menu provides bulk actions and visibility controls.
- Show Completed: Toggle visibility of completed tasks
- Show Archived: See tasks you've archived
- Show Deleted: Recover accidentally deleted tasks
- Select All: Select all tasks for bulk operations
- Copy as Text: Copy your task list to clipboard
- Export: Export tasks to JSON for backup
- Import: Import tasks from a file
Task Actions
Each task in the Outliner has a menu with powerful actions:
- Mark Complete: Check off the task
- Add Task: Create a new task below this one
- Indent/Outdent: Change the hierarchy level
- Schedule Work: Add to a specific day
- Organize: Move to a different list or location
- Assign to: Delegate via email
- Email Task: Send task details to someone
- Export/Import: Save or load task trees
- Delete: Remove the task
- Archive: Hide without deleting
- Properties: Edit title, description, and more
- History: View time tracking records
Best Practices
Weekly Review
Once a week, review your Outliner:
- Archive completed projects
- Delete tasks you'll never do
- Break down large tasks into smaller pieces
- Schedule next week's important work
Project Structure
For complex projects, use this hierarchy:
- Level 1: Project name
- Level 2: Major phases or categories
- Level 3: Individual actionable tasks
Keep tasks at level 3 small enough to complete in a single work session.
Related Guides
Ready to Get Organized?
Start using the Outliner to capture and organize all your projects.
Try PlanItNine Free